EZ Menu for Gamemaker
A downloadable asset pack
DISCLAIMER: This asset is free because I do not feel comfortable selling other people's work. While there is a good deal of coding done by me here, the bulk of this asset comes from online programming tutorials. I've included links to all of the resources I've used, both inside of the asset and at the end of this description. Please remember to give my resources the credit they rightfully deserve; I'm not uploading this for attention or monetary gain of any sort. This is simply because I'm tired of writing this all from scratch every time I start a new project, and if I'm going to compile everything I do in an asset, I might as well share it with people who might want to be lazy, too. If I'm asked to take this down, I will without doing it begrudgingly.
***
An easy-to-implement menu system for Gamemaker (formerly called Gamemaker Studio 2) that I built for personal use, which includes the following:
- An initialization room used to set up macros, important variables, and developer control before the game begins.
- Full controller support.
- A functional options menu that tracks the player's input, applies it, saves their settings to a file when they're done, and alerts them of this through a rudimentary UI system. Settings included are Sound, Music, Controller Preset (Xbox, PlayStation, or Nintendo and their corresponding button layouts), and a selection of three separate Resolution Profiles (640x360, 1280x720, 1920x1080).
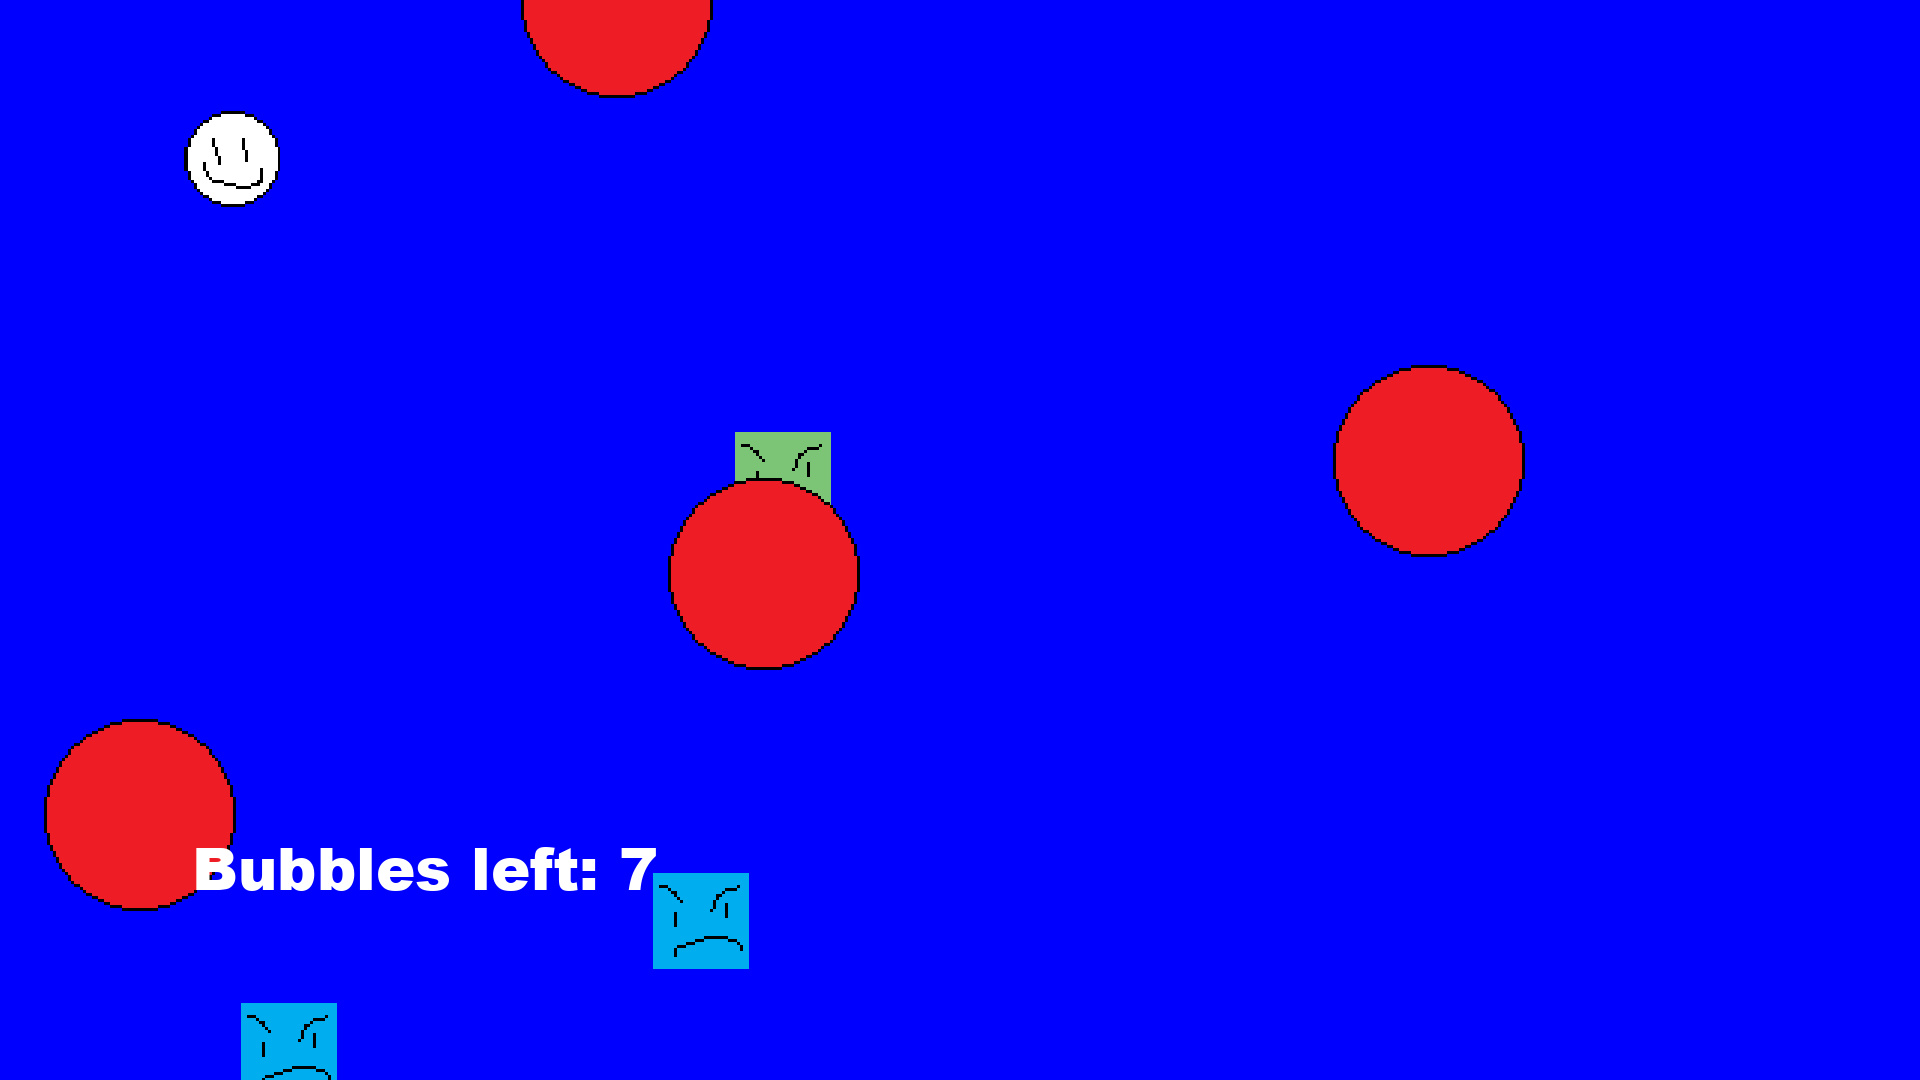
- A dynamic resolution scaling system. Also included is a camera-follow system, which can be observed in an example project.
And,
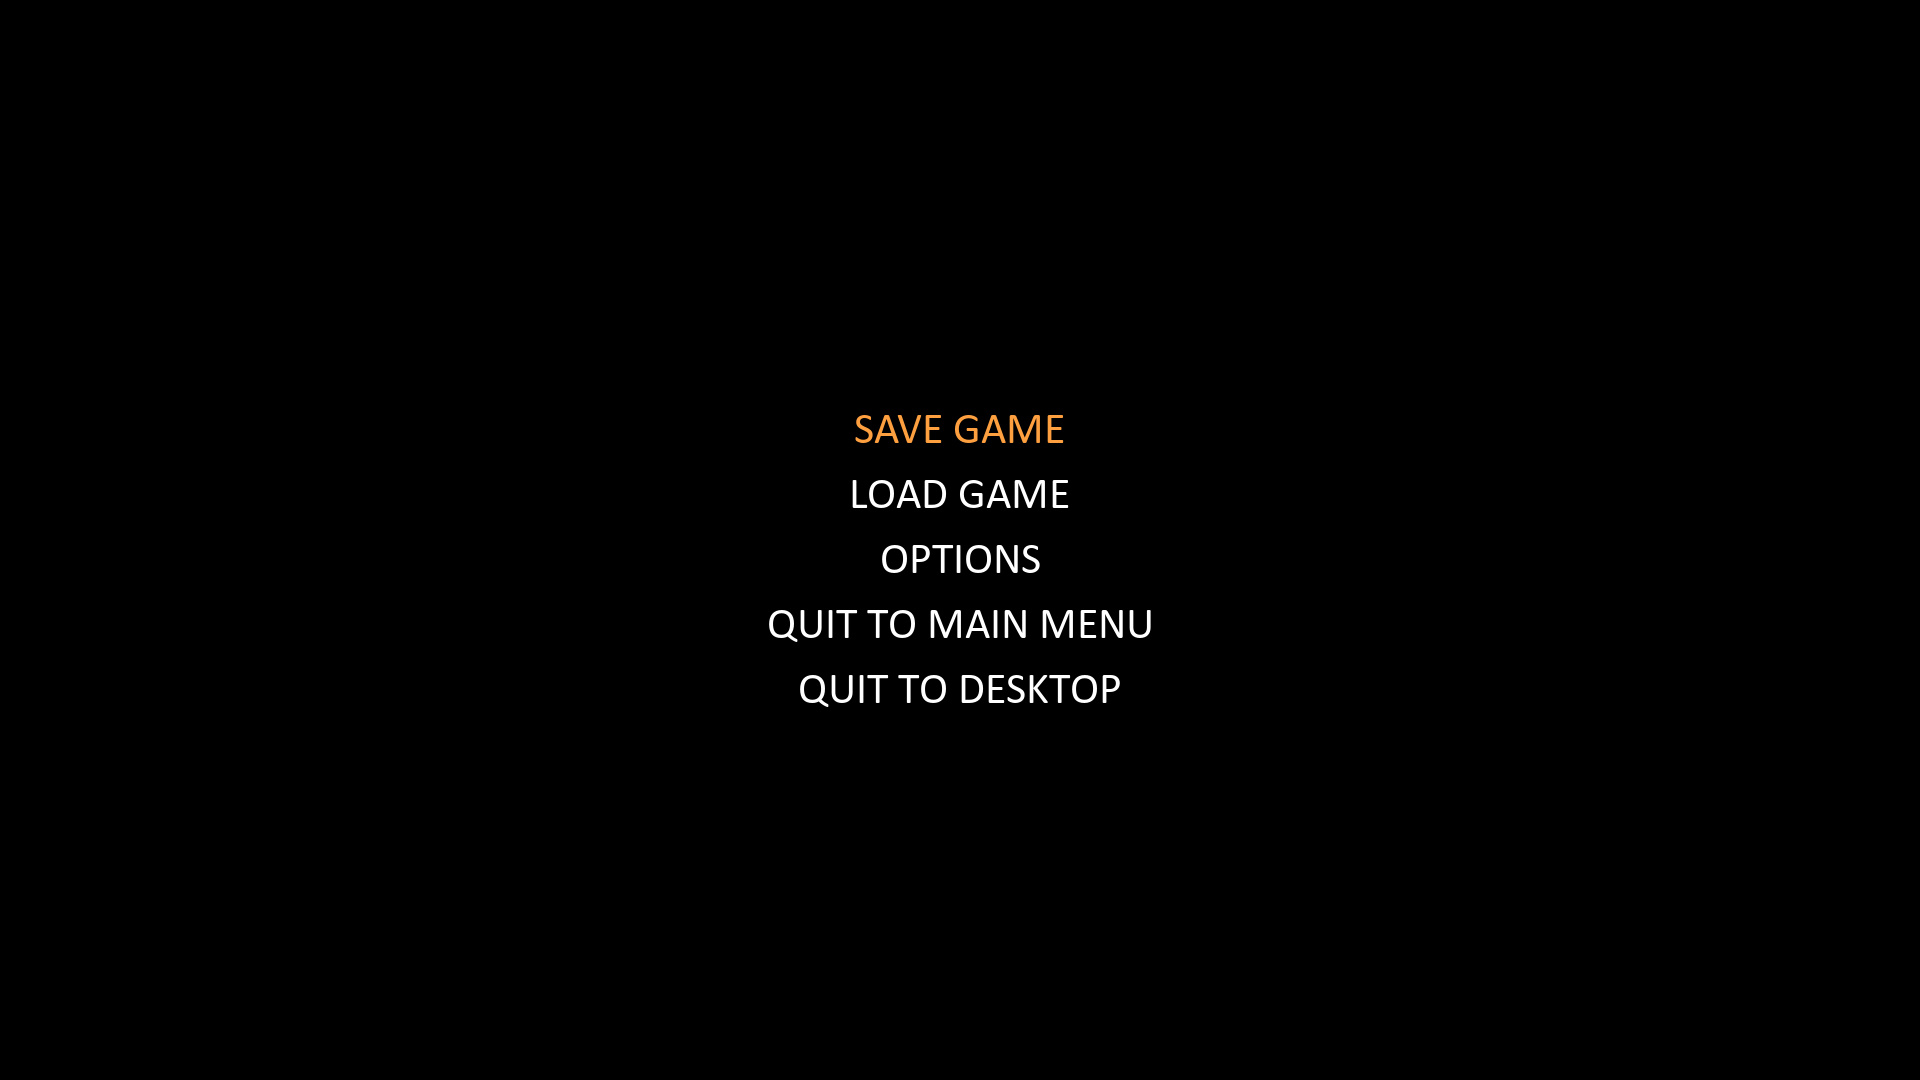
- A functional pause system that includes a pause menu.
***
Resources used:
- Menus with Submenus by Slyddar
- GMS2 Cameras: As Simple as Possible by PixelatedPope
- GameMaker - Simple Pause Tutorial by Shaun Spalding
- Alternate to keyboard_check_released for gamepad_axis_value? on forum.yoyogames.com
- Credit goes to users nacho_chicken and poliver
- Link to Thread
Download
Install instructions
Download .yymps file. Go into GameMaker; boot up a new project or use an existing one. Before importing, ensure that your project has two audio groups named agMusic and agSFX. On the toolbar that includes 'File,' click on 'Tools.' Move your cursor to the bottommost option, 'Import Local Package.' Navigate to where you saved the file and import it. You can ignore the optional demo project if you desire, but ensure that everything menu related is intact. Put rInit at the top of your game's Room Order, and before starting up, make sure all of the necessary audio files are in the correct audio groups. Ensure that each room has the pausePrivileges set up in their initialization code.
Development log
- 1.02: Delay86 days ago
- 1.02: What's been taking so long?Nov 22, 2023
- UPDATE: v1.01Jan 17, 2023


Leave a comment
Log in with itch.io to leave a comment.